
We are pleased to announce that we have added more enhancements to our Spa & Salon Management System.
POS Updates:
The reservations feature is now available for our desktop POS.
You can manage reservations separately from ongoing transactions in card view prevent voiding in cases wherein a customer cancels ahead of time or did not show up on the time/date they reserved.
Here’s how you can add reservations in your desktop POS:
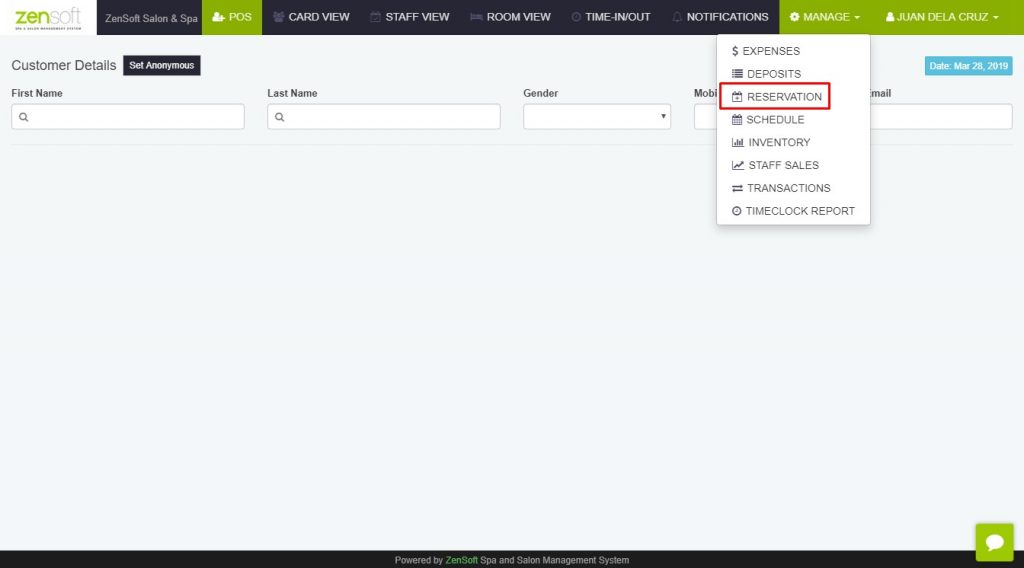
1.) Login to your ZenSoft POS and click on Manage > Reservations.
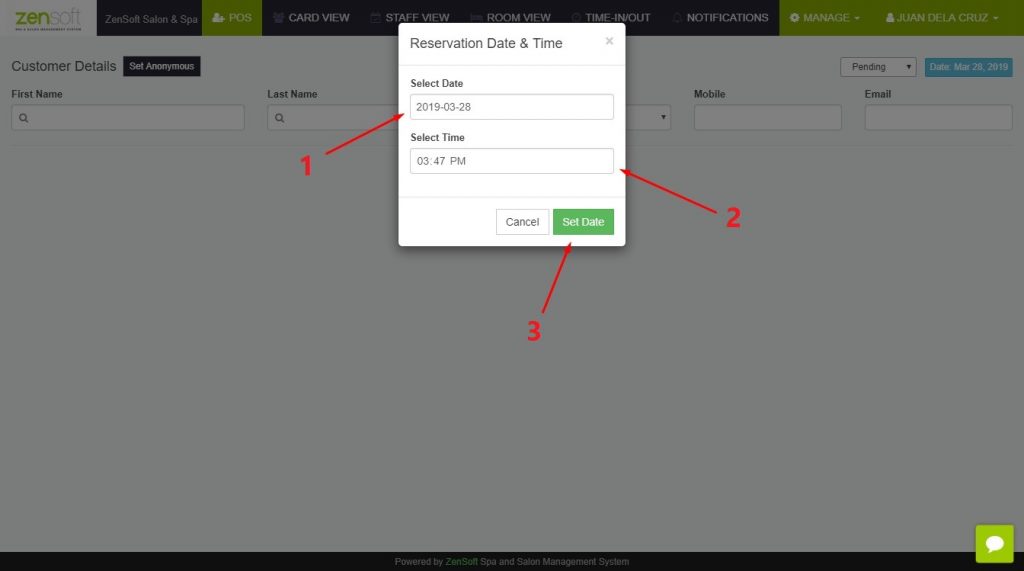
2.) Pick the date and time of the reservation and click on Set Date.
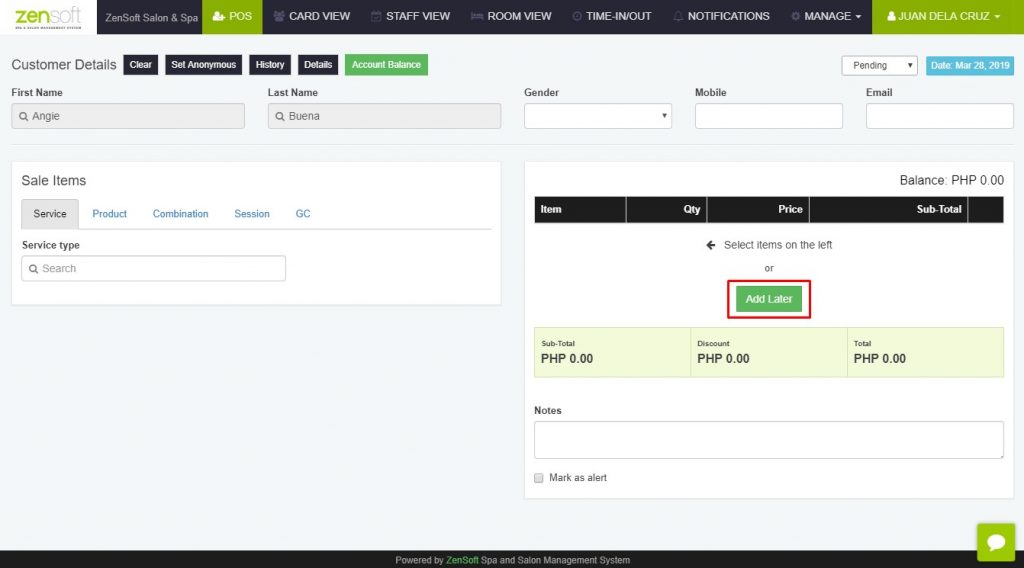
3.) Enter the client details
4.) If the client already indicated the service that they will avail, you may select it like the normal process of encoding the transaction. If not, you can click on Add Later.
How to manage reservations:
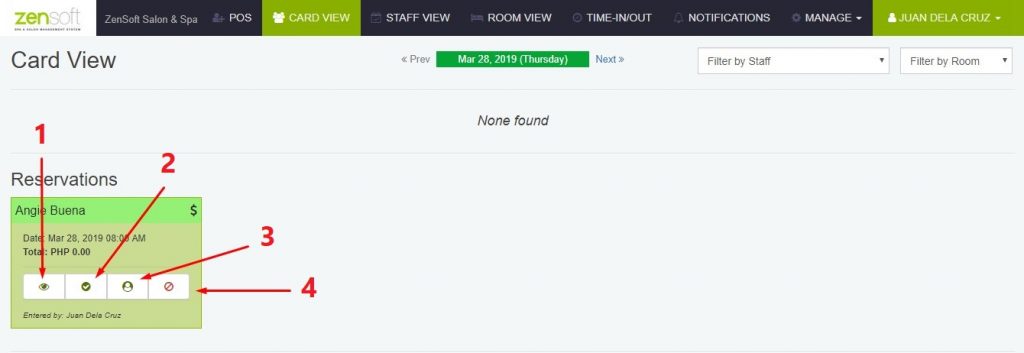
1.) Details Icon – This option lets you review the details of the client’s reservation.
2.) Confirm Reservations Icon – You can use this option when you have confirmed with the client directly that they will push through with the reservation.
3.) Check-in Icon – You can use this option when the client already arrived in the branch and for you to be able to encode which service/s they will avail
4.) Cancel Icon – You can select this option in case the client did not come or cancelled in advance.
We also have added the customer tagging feature for our desktop POS wherein you can add tags to a certain client with unique distinction. Examples are VIPs, Regular Clients, Celebrities, etc.
Here’s how you can add tags to your clients:
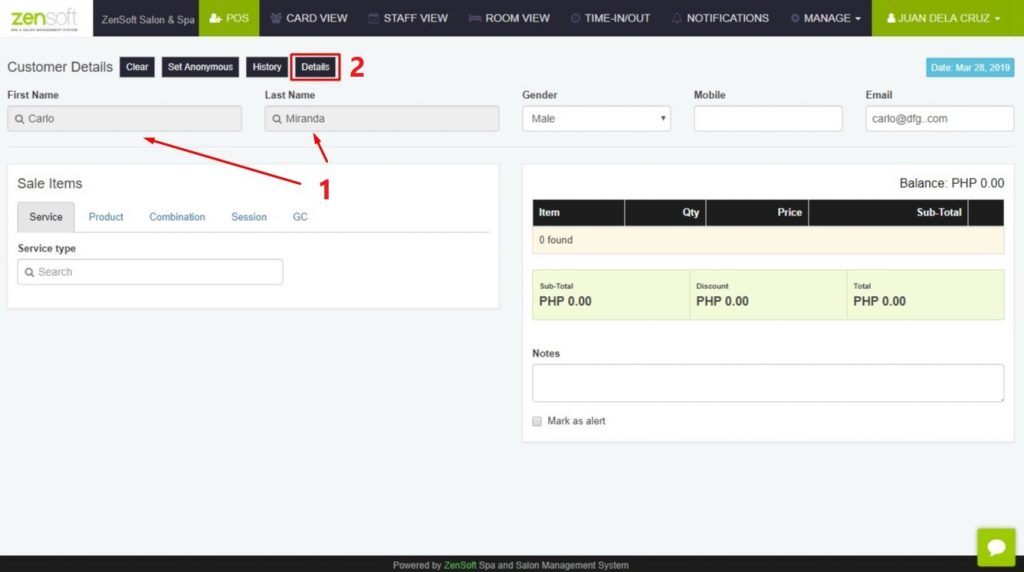
1.) Login to POS and enter the client details.
2.) Click on the Details button.
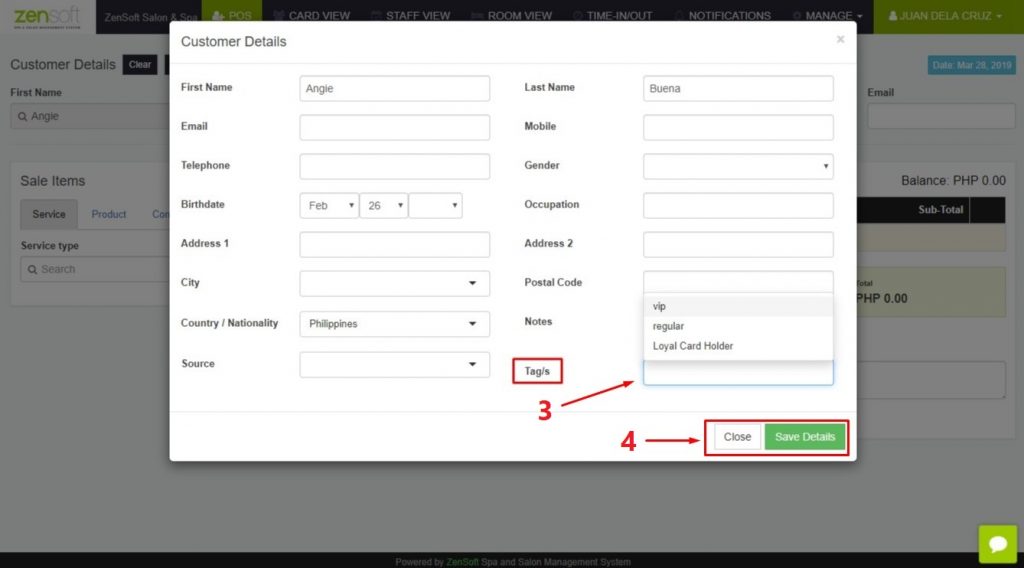
3.) If there are no existing tags yet, you may enter the tag name from the Tag/s textbox.
4.) Click on Save Changes and Close.
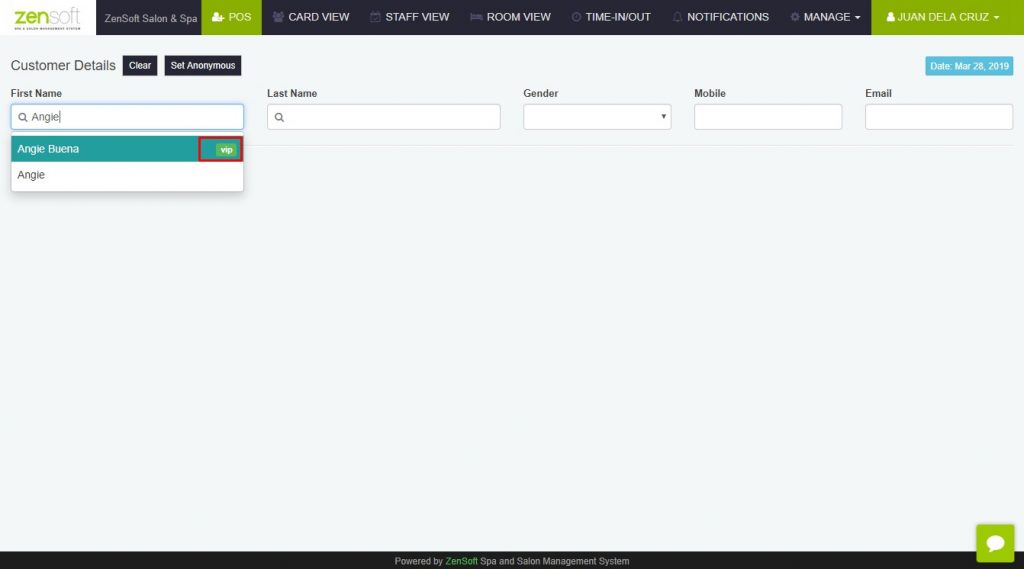
The customer tag will look like this:
For inquiries or concerns regarding our new features, you may contact our customer support team for assistance.
Stay tuned for more updates!